
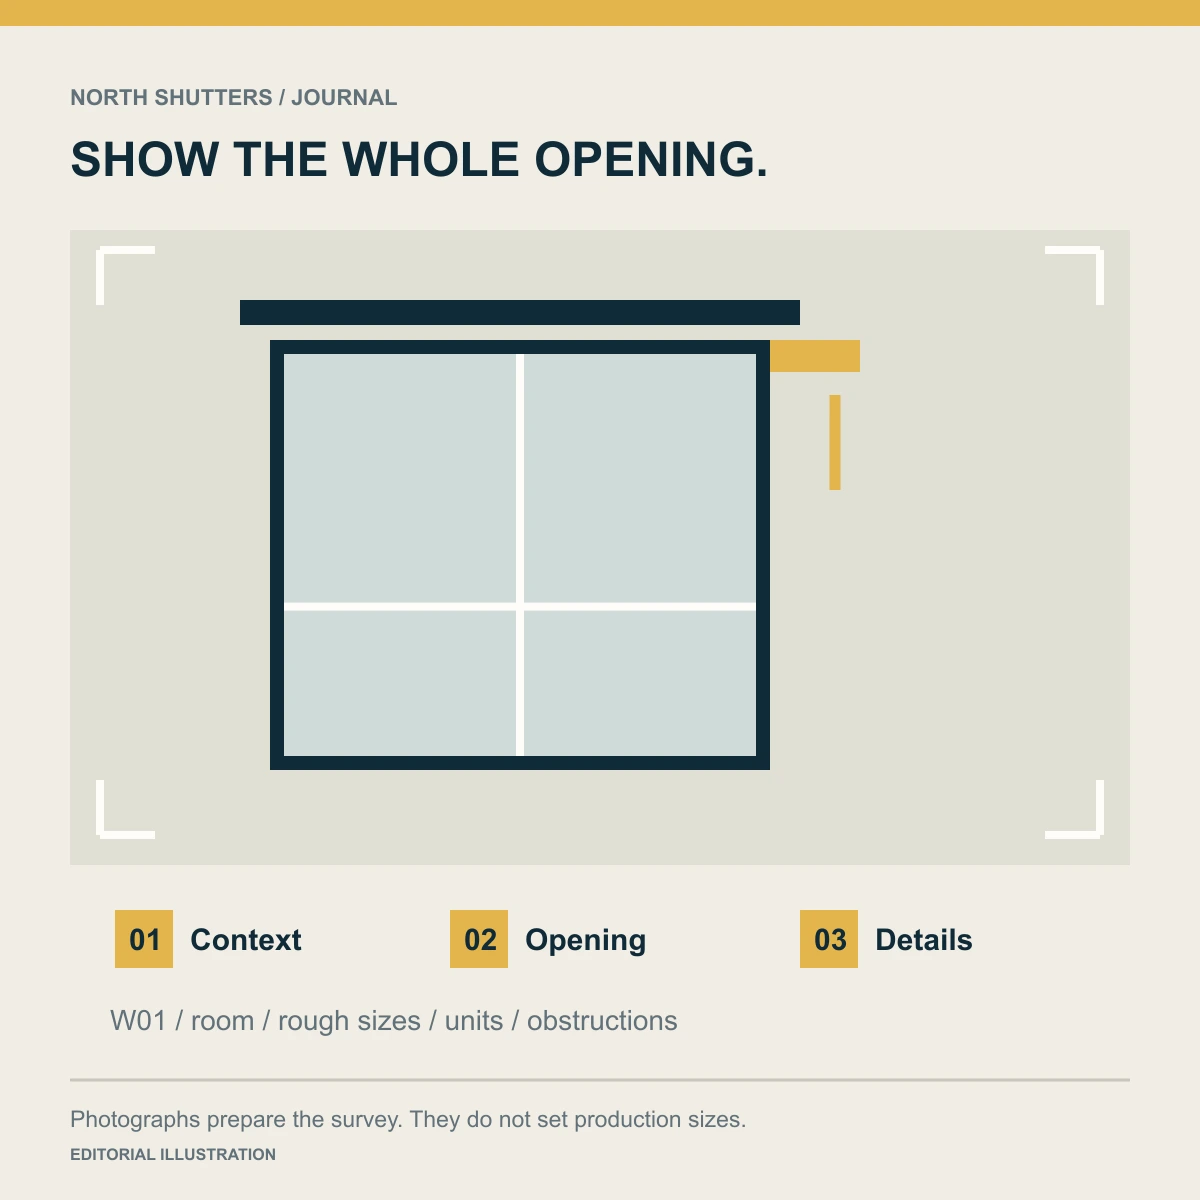
Prepare one labelled photo set per opening: a complete straight-on view, a wider context view and close-ups of anything that could obstruct the system. Add rough dimensions with units and the measurement reference. Keep final manufacturing dimensions for the agreed survey process.
Your finished pack
- A simple opening list: W01 kitchen, W02 bedroom, D01 patio door.
- Photos named with the same opening IDs.
- Approximate width × height, units and what the tape spanned.
- Notes on operation, power, access, approvals and unfinished work.
Step 1: Give every opening an ID
Walk through the property in a consistent direction. Use W for windows and D for doors, then add the room or elevation. Repeat that label in file names, notes and the enquiry. “W03-bedroom-inside.jpg” is more useful than a sequence of camera-generated names that can be confused with the next room.
Count adjacent windows separately when their frames, dimensions or operation differ. A wide photograph can show the group, but each opening should still have its own record. Mark which units are fixed and which open. If you are considering one system across several bays, state that as a question for the survey rather than combining the sizes yourself.
Step 2: Take the same sequence at each opening
- Straight-on, full opening: include the top, sides and sill or threshold. Keep the camera as level as practical.
- Wider context: step back to show surrounding wall, soffit, ceiling, adjacent openings and the approach.
- Obstruction details: photograph projecting handles, cranks, hinges, alarms, vents, pipes, lights and trim.
- Open position: when safe, show how the sash or door moves and what space it occupies.
- Opposite side: for an exterior shutter, include inside and outside views when safely accessible.
- Installation access: show steps, furniture, fences or equipment that could restrict a survey or installation.
Take exterior photographs from the ground. Do not climb, open service covers or lean through a window to improve a picture. Remove personal documents and avoid including people or neighbouring private spaces. The purpose is to document the opening and its constraints.
Step 3: Record rough sizes without inventing deductions
Write both the number and the reference: “approximately 1,200 mm frame width,” for example. State whether you measured glass, frame, recess or wall opening. Keep the same units throughout and mark estimates as approximate. Do not subtract guide widths, fitting gaps or fabric deductions unless the selected manufacturer’s measurement process explicitly requires it.
For interior blinds, recess depth and projecting window hardware affect whether an inside mount is practical. Manufacturer guidance also checks dimensions at multiple points to identify an opening that is out of square. These are reasons to show the condition clearly; a phone photo or one width measurement cannot establish a production size for every system.
Step 4: Copy this opening schedule
Opening ID / room: ___
Main task: security / glare / privacy / insects / other ___
Approximate width × height + units: ___
Measured between: ___
Existing frame, wall and finish: ___
Obstructions and opening movement: ___
Preferred controls / available power: ___
Required passage or emergency access: ___
Work still to be completed: ___
Survey / installation access restrictions: ___
Matching photo file names: ___
For a renovation, add the current drawing revision and list changes made since it was issued. Identify who can confirm the final frame, cladding and electrical positions. For a condominium or leased premises, record the relevant property contact and any approval already obtained.
A published project explains why context matters
In a documented waste-management facility project, large rolling doors were specified before the required structural support had been fully reflected in the architectural drawings. The supplier, installer and project team then had to coordinate the support detail.
The lesson for a smaller project is to photograph and describe the surrounding construction, not only the clear opening. Photos do not prove structural adequacy, but they can reveal a question that needs to reach the right person before ordering.
Step 5: Check the pack before sending it
Open every file once. Check that it is sharp, correctly labelled and consistent with your schedule. Put unanswered questions beside the relevant opening. The first discussion can then identify which system to investigate, what needs verification and which trades or approvals are involved.
The North Shutters contact form accepts up to ten optional project photos. If there are more openings, start with an overall view and the clearest examples of different conditions, then describe the total opening count in the message.
Put the plan into practice
Send the project details · Measurement and installation process · General quote-scope checklist
Sources & further reading
- Hunter Douglas: mounting depth and obstructions
- Hunter Douglas: measurement and installation preparation
- Published project: coordinating structural support for large doors
Sources reviewed October 30, 2026.